This method was a significant move in the Post Processing Pipeline in 2023. But has changed in 2025
Here is my workflow
From the Lightable View, double click the image you want to edit so it opens in the Darkroom View. I am using an image taken in Florida in March 2023
On the right you will see the Pipeline which shows the order the modules are applied. Then the different collections which are very logical and easy to find.
On the left look at the History Tab. The loaded image is at 13th action, but it is often too light. You need to go back to number 10 the filmic rgb which is usually done correctly.

If you decide that the White Balance is not correct go back to number 8 the lens correction and then do the colour calibration yourself, having Compressed the History Stack. The image will be RED!!! This is to be expected. We are on the modern workflow.
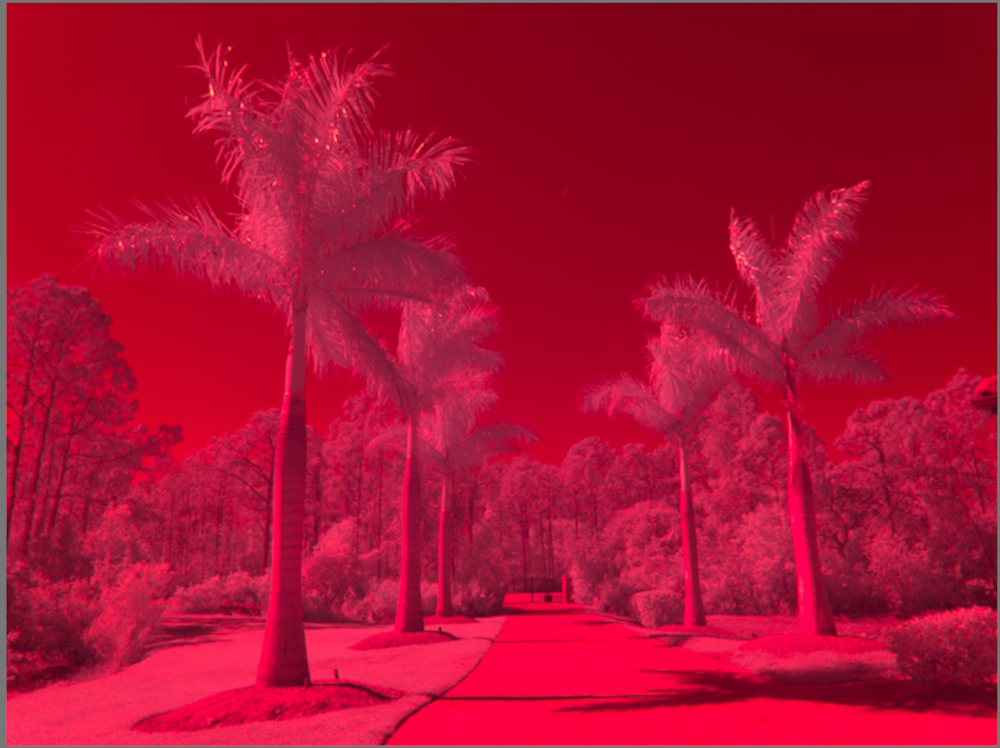
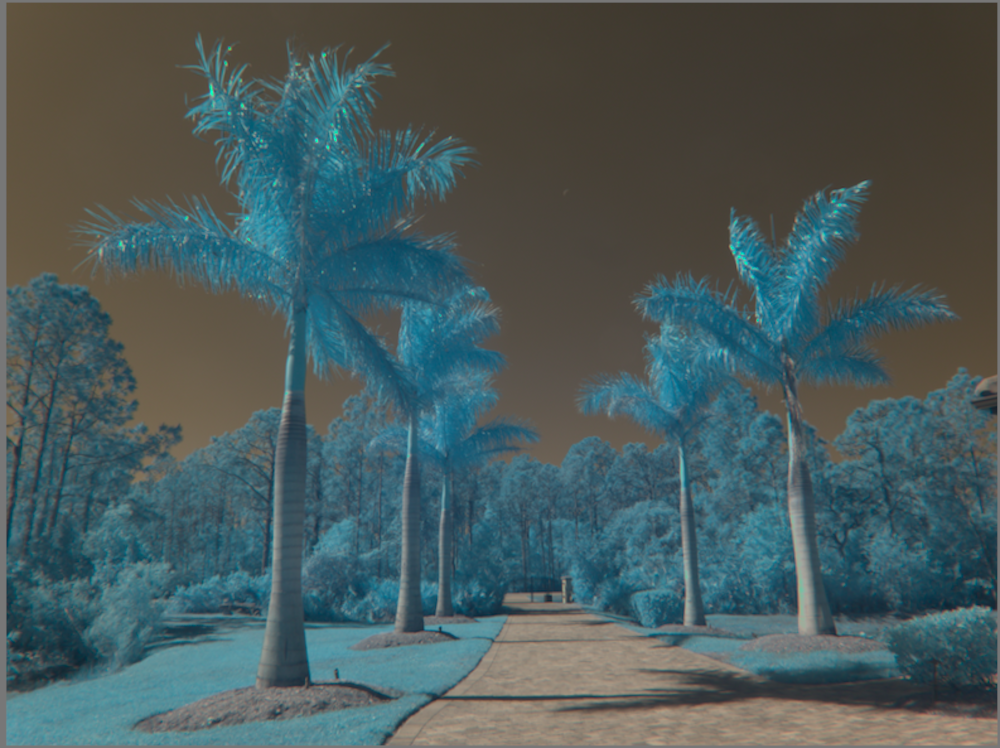
- In the Color Calibration make sure the Adaptation is at CAT16, then pick the color picker next to the red bar and select an area of the image to give the required White Balance. You want good separation between trees and sky.
-

<a href="/files/photography/InfraRed/Workflow_Example_Images/RAW_File_At_ColorCalibration.png">Color Calibration for White Balance Done</a> - Be sure to have the "ISO 12646 Color Assesment" toggle ON (Bottom right of image). This makes it easier to asses the exposure/contrast etc.
- Open the Tones → Exposure and adjust the Exposure, NOT the Black Level.
- Open the Tones → Filmic RGB and in the scene tab adjust the sliders to make the Dynamic Range Mapping and histogram correct, then in the Look tab adjust the contrast.
If however you are happy with the automated filmic rgb continue from here.
- Go to Repair → Denoise and turn it on.
- Go to Color → Color Calibration and create a new instance eg. Swap-RB and swap Red and Blue Chanels. Then in the Pipeline hold Ctrl – Shift keys and drag this Color Calibration instance ABOVE the Output Color Profile to make the module work in the correct place.
-
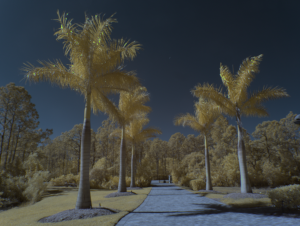
<a href="/files/photography/InfraRed/Workflow_Example_Images/RAW_File_ColorCalibration_Swap_RB.png">Color Calibration - Swap RB Channels</a>
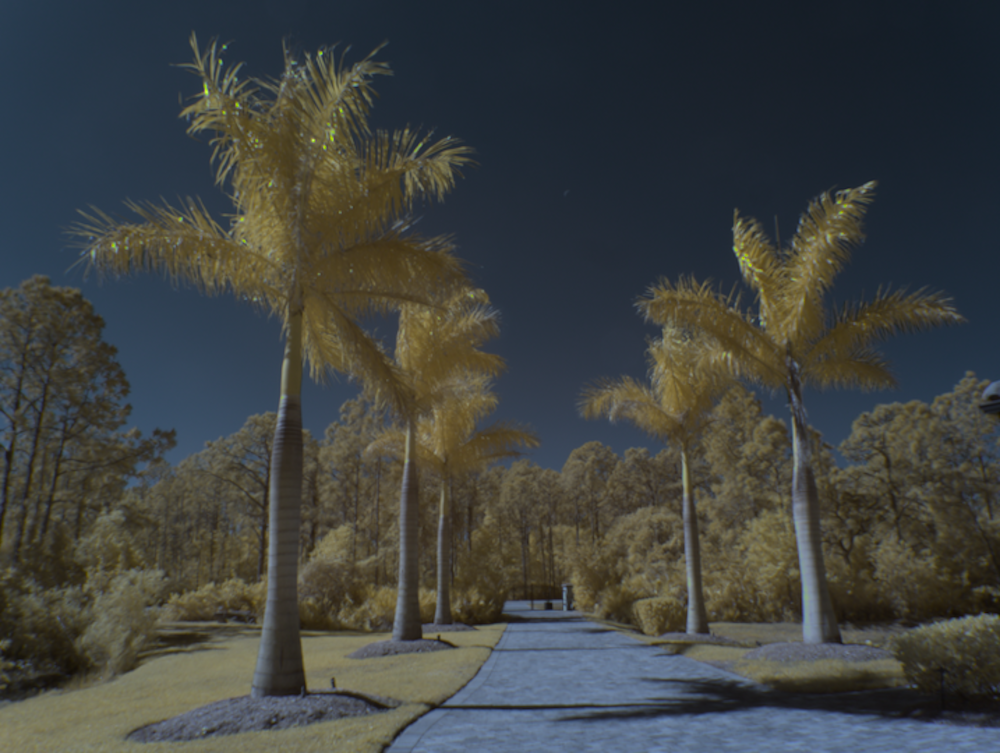
The image should be starting to look better now.
Adjust for rotation, crop and perspective.
Then go to Color → Color Zones and adjust to taste.
Then Tones → Tone Equalizer click the Masking tab and masking icon and adjust to fill the sliders to fill the space, then turn masking icon off and go to Advanced Tab and adjust sliders depending on the required levels across the image.
